
Difficulty
Moderate
Steps
14
Time Required
00:10:00 - 00:15:00
- Removing the leg portions 4 steps
- Separating a turkey's legs and thighs 2 steps
- Carving out a turkey's breast 3 steps
- Carving a turkey's wings and breasts 3 steps
- Plating your turkey 2 steps

Featured Guide
This guide has been found to be exceptionally cool by the site's staff.
Introduction
This guide will walk you through the process of carving your turkey into its most commonly served components.
-
-
Orient the turkey with the legs facing you.
-
Grab a leg and pull it away from the body of the turkey.
-
Help to separate the leg by slicing the meat and tendons above and below the joint.
-
The turkey's leg joint
-
-
-
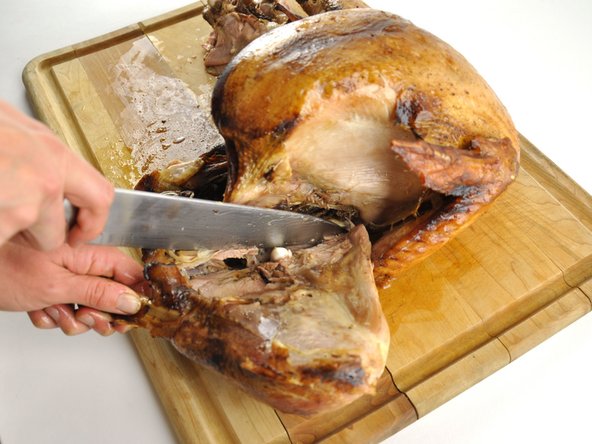
Now pull the leg away from the turkey body in order to expose the joint.
-
Once exposed, insert your knife just inside the joint (closer to the turkey body) and push down hard to cut through the joint and remaining connections..
-
-
-
Rotate the turkey so that you have the other leg directly in front of you.
-
Again, slice above and below the joint to make it easier to spread the leg away from the turkey body as shown.
-
-
-
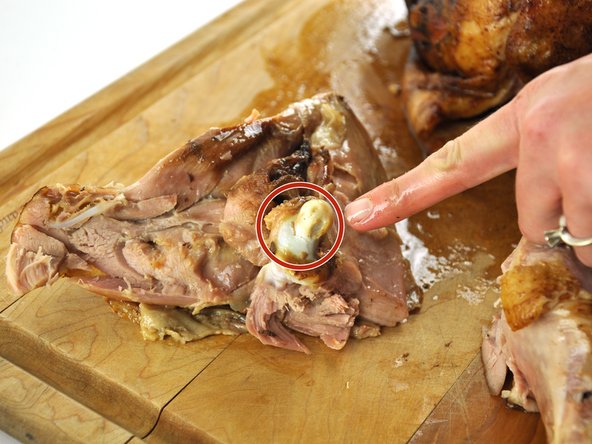
Locate the joint connecting the leg to the turkey body.
-
Here is the leg joint on the leg we've already removed.
-
Once found, place your blade on the inside of the leg joint. Work the blade side to side, applying more pressure when you feel less resistance and until you've completely removed the leg section from the main turkey body.
-
-
-
Take your leg section and cut parallel to the protruding bone section about about two inches from the bone side of the section.
-
-
-
When your blade cuts into the leg section, it will meet resistance.
-
This is either a section of bone or a joint.
-
Apply downward pressure on point of resistance, if it doesn't yield then you are hitting bone and will need to readjust your cut.
-
To readjust your cut, bring your knife up and then push down in a slight scooping motion to find the joint.
-
The joint will cut easily and cleanly when you apply enough downward pressure.
-
-
-
Locate the center of the turkey's breast bone (it'll be evenly spaced between the opposing legs and wings of the turkey).
-
A turkey's rib cage will appear more triangular than a humans when viewed from below.
-
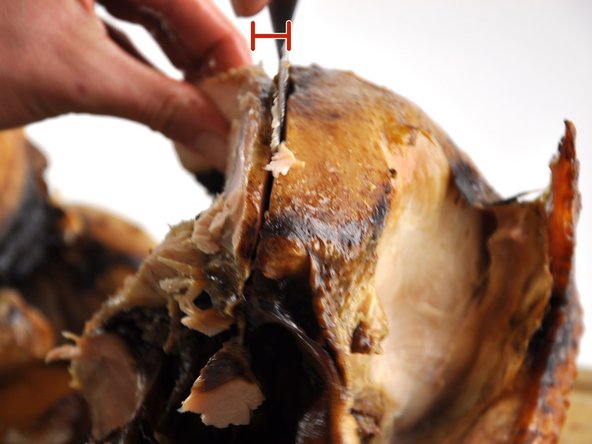
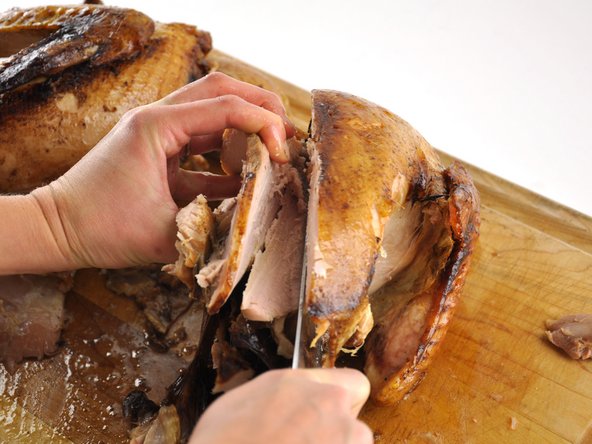
Begin a cut a centimeter to the left or right of the breast bone (begin at the top of the turkey, working your way towards the leg-side of the turkey.
-
Keep your cut close to the turkey's rib cage as you continue cutting deeper.
-
-
-
Once you've cut all the way through the breast meat, you will have exposed the wing joint.
-
With the joint exposed, cut through the joint by applying a strong downward force.
-
Make another cut through the same channel severing the remaining breast meat from the ribcage.
-
-
-
Now make a cut on the opposite side of the breast bone (approximately one centimeter) from your first cut.
-
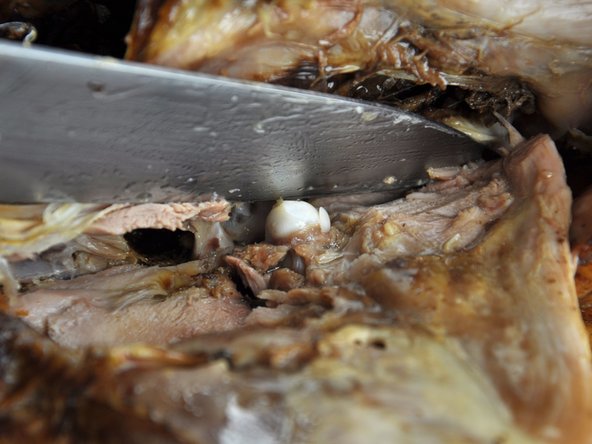
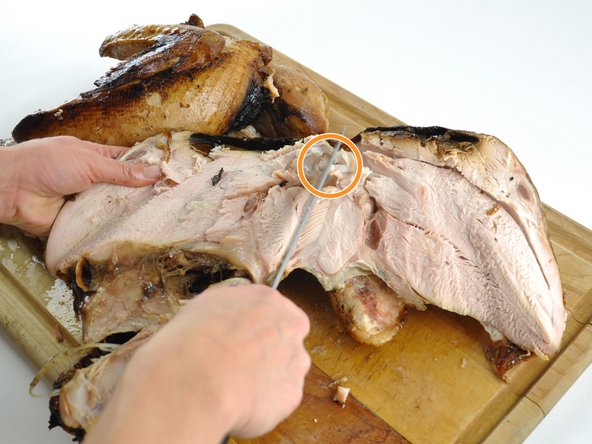
Continue cutting and keeping your blade close to the rib cage until the joint is exposed.
-
The exposed joint.
-
Make a clean cut through the remaining meat and the exposed joint to completely sever the remaining turkey breast from the rib cage.
-
-
-
Take your wing and break portions and pull the wing away from the turkey breast section.
-
Make a cut where the wing pulls away from the breast until you expose the joint.
-
Cut through the joint and through any remaining connected meat.
-
You're now left with your two pieces: a wing and the breast.
-
-
-
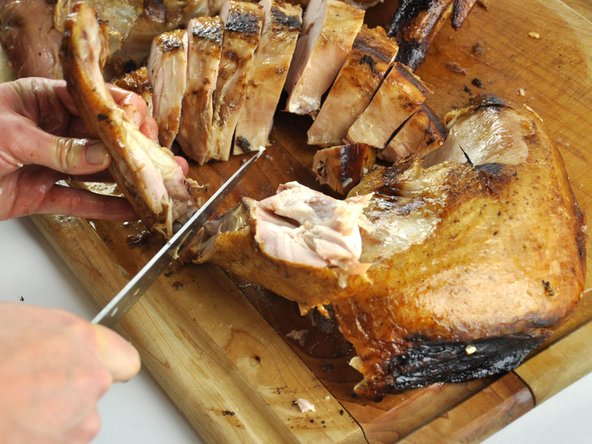
To slice your remaining breast section into smaller sizes for serving, you must cut against the grain.
-
Grains are just natural lines in the meat. Cutting "against the grain" means cutting at a 90 degree angle from these lines.
-
Start from one side and slice the breast into sections (adjust width of sections to your preference)
-
-
-
As an option, the wing can be further segmented into two parts.
-
Cut the remaining wing section at the elbow.
-
This will leave you with a wing and a section that resembles a mini-drumstick.
-
-
-
Now that your turkey is successfully carved, take a look at your dark and white meat offerings:
-
Dark meat
-
White meat
-
-
-
Choose a sizable platter for all your turkey pieces.
-
Remember, symmetry is important in design.
-
Add a little rosemary garnish for some added flare.
-


Cancel: I did not complete this guide.
One other person completed this guide.